
Rendering a picture
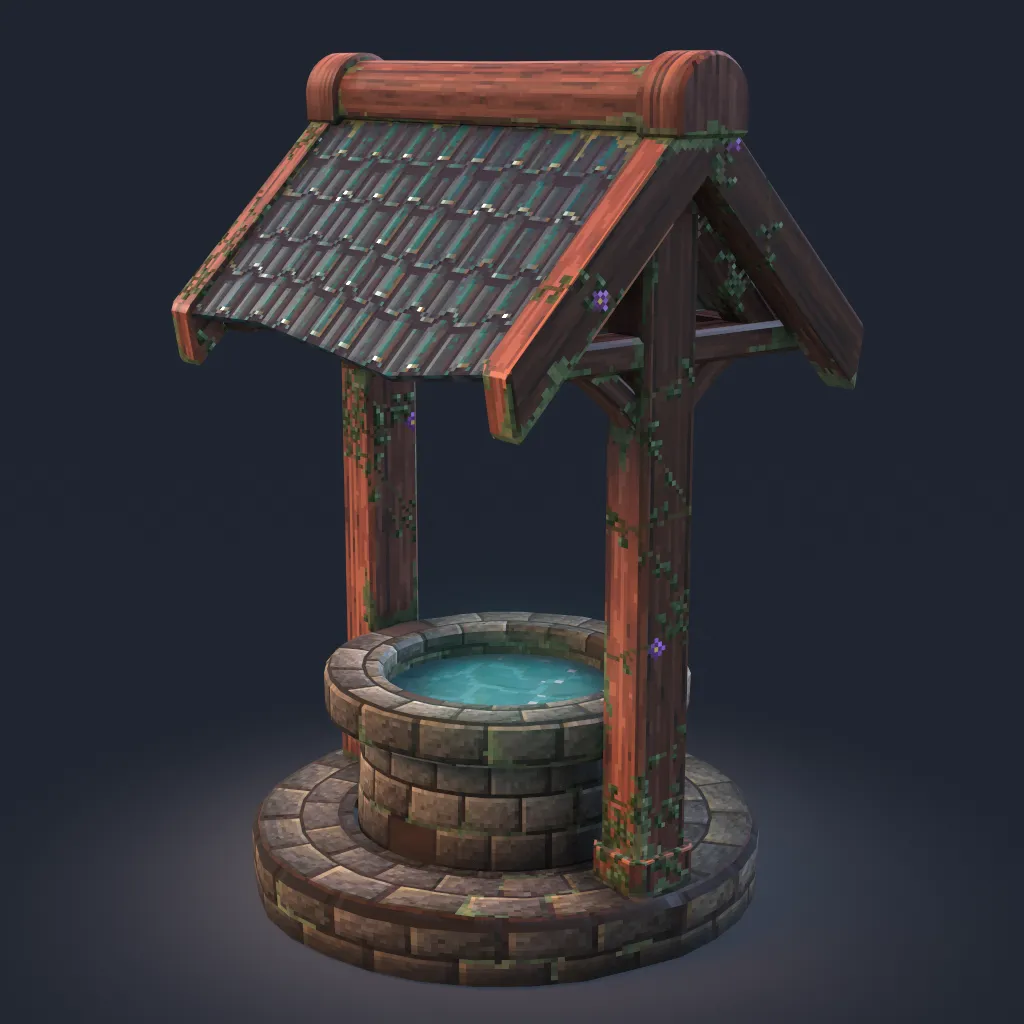
Render mode turns your textured model into a finished picture. It lights the model, traces the light bouncing around it, and saves the result as an image. Your textures are not changed.
Click Render in the mode bar at the bottom of the window.
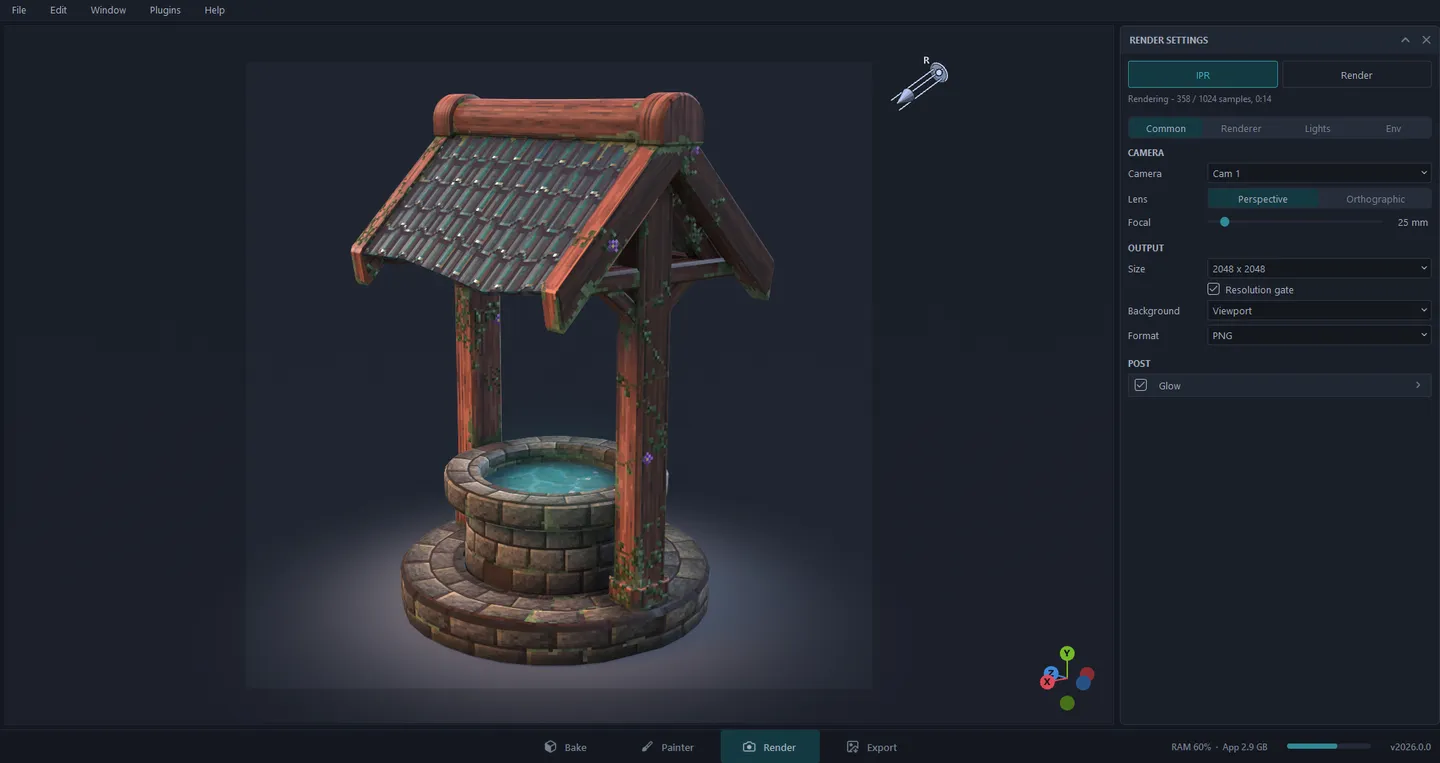
IPR and Render
Section titled “IPR and Render”At the top of the Render panel are two buttons:
- IPR - the view renders as you work, so you see the final look while you move the camera or change a light. Turn it off to stop and keep the picture; turn it on again to carry on from there.
- Render - makes a still image at the size you chose under Output. The panel shows its progress. Press it again (it now says Cancel) to stop early and keep what is done.
When the still is finished, Save Render… saves it, and Back to View closes it. A still you did not save is gone once you go back. While a still renders, the other modes and saving are locked until it ends.
The tabs
Section titled “The tabs”The settings are on four tabs.
Common
Section titled “Common”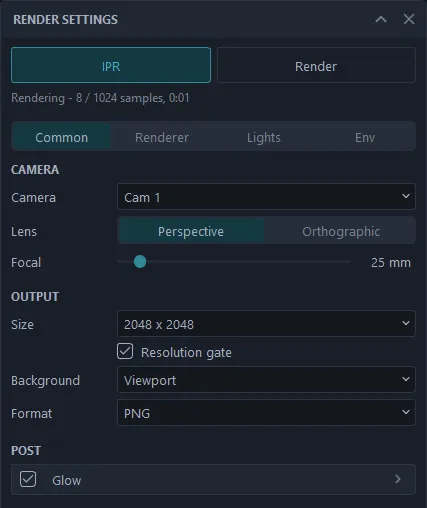
- Camera - which of the four cameras renders (the same four as the Camera menu in Painter), Perspective or Orthographic, and the Focal length. Orbiting the view moves the camera you look through.
- Output - the Size of the still: the view’s own size, 1024, 2048 or 4096 square, 1080p, 4K, or your own size. Resolution gate dims what falls outside the picture, so you can frame it in the view.
- Background - Viewport (the view’s own background), Transparent or a Solid colour.
- Format - PNG, or EXR (linear light, with alpha) if you want to composite the render in another program.
- Glow - a soft glow around the parts you painted in the Emissive channel, such as lava or lamps.
Renderer
Section titled “Renderer”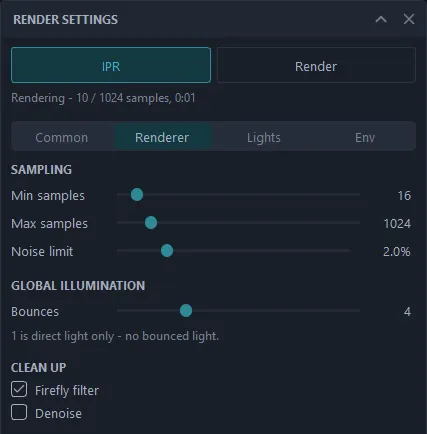
- Min samples, Max samples and Noise limit decide how long a still keeps refining. More samples mean less noise and a longer wait.
- Bounces - how many times light bounces between surfaces.
- Firefly filter - removes stray bright dots.
- Denoise - cleans up the noise, so a few dozen samples can look like a thousand. Pixel-art edges stay sharp.
Lights
Section titled “Lights”Start from a Preset - Studio, Rim blue, Sunset or HDRI only - then change it. You can have several lights, each directional (like the sun), point or spot, with its own colour or colour temperature, and strength. Cast shadow turns its shadow on; a bigger light (or a wider sun) gives softer shadow edges.
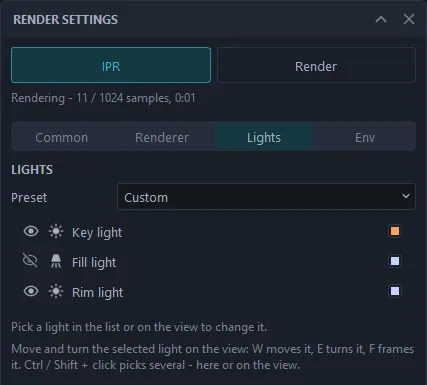
Each light in the list has an eye to switch it off. Pick a light in the list or in the view to change it; Ctrl or Shift + click picks several. In the view, press W to move the selected light, E to turn it, F to frame it and Esc to let go.
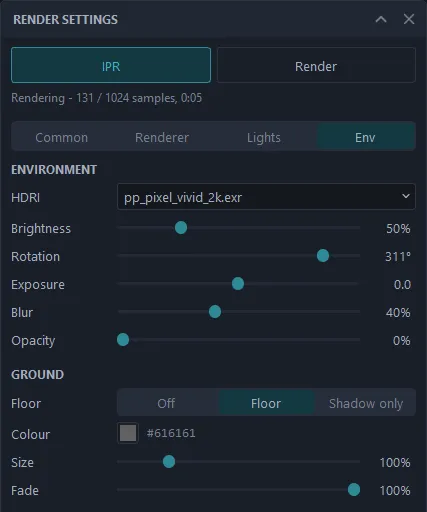
- Environment - the HDRI that lights the scene. Brightness is for the render only. Rotation turns the HDRI round the model (where its light comes from) and Exposure sets its brightness in stops; both are shared with Painter’s view. Blur and Opacity change only how the HDRI shows behind the model on a Viewport background, not its light.
- Ground - Floor puts a floor under the model, with its own colour, size and fade. Shadow only keeps just the model’s shadow on a clean background, with a Shadow strength to make it darker.
- A 4096 still needs about 1 GB of video memory. On a smaller graphics card Pixel Painter renders a smaller still instead of failing.
- For a store page, a Solid colour background with the Studio preset is a quick, clean start. For a game engine or editing program, save a Transparent PNG or an EXR.