Apply a material to a model
Start from a mesh file and end with a material on it. About a minute.
1. Open Pixel Painter
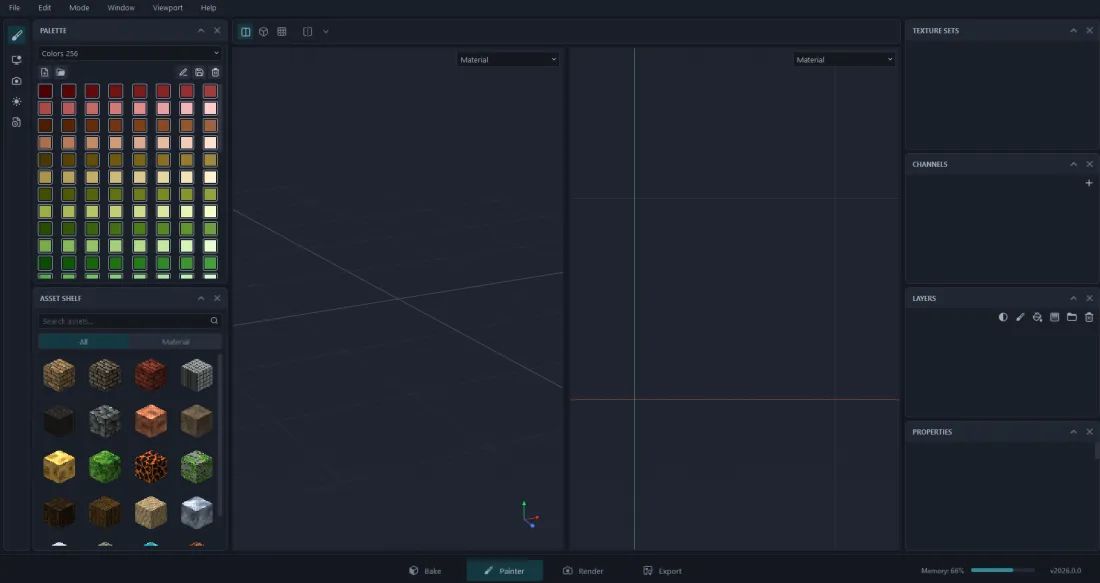
Section titled “1. Open Pixel Painter”The app starts with no project. The viewport is empty and the Layers panel on the right has nothing in it.
2. New Project
Section titled “2. New Project”File > New Project…, then pick your mesh (.fbx or .obj) and a texture
resolution.
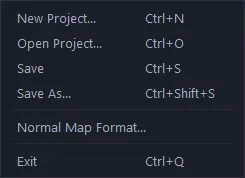
Resolution is per-project and cannot be changed later, so pick it now. The screenshots here use 64.
3. Wait for the mesh
Section titled “3. Wait for the mesh”Loading runs in the background - the window stays responsive while it works. When it finishes, the model appears in the 3D view on the left and its UV layout in the 2D view on the right.
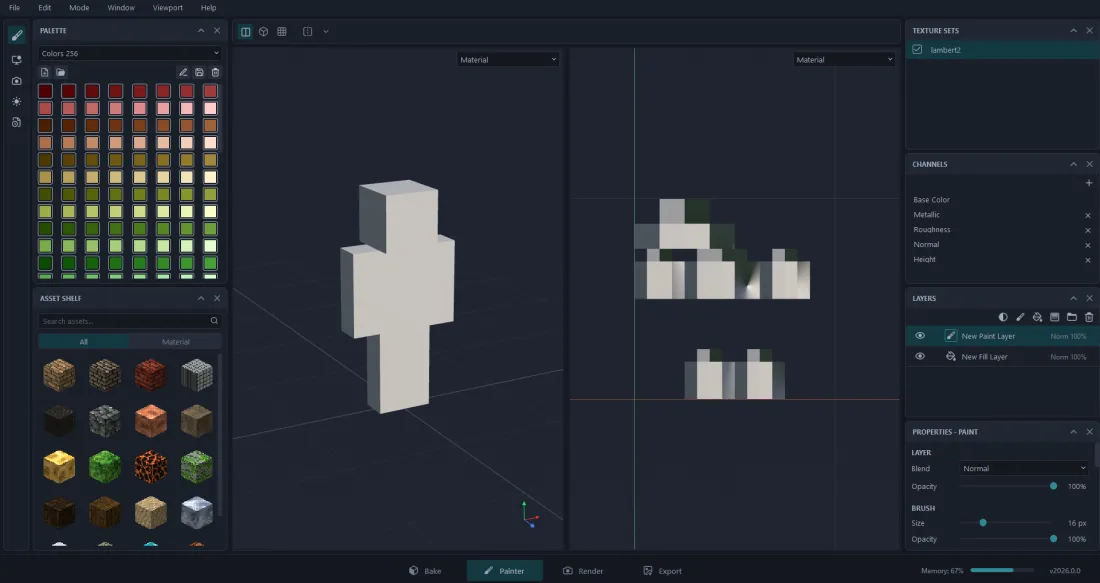
The Layers panel now shows the two layers every new project starts with, and
Texture Sets lists one set per material on the mesh (here: lambert2).
4. Pick a material from the Asset Shelf
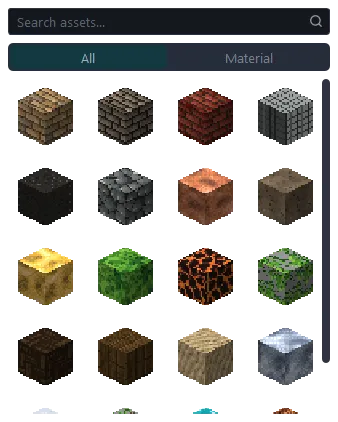
Section titled “4. Pick a material from the Asset Shelf”The Asset Shelf, bottom left, holds every material that ships with the app. Type in the search box to filter, or use the All / Material tabs.
5. Drag it onto the model
Section titled “5. Drag it onto the model”Drag the tile out of the shelf and drop it on the model in the 3D view. The material is applied to the texture set you dropped onto.
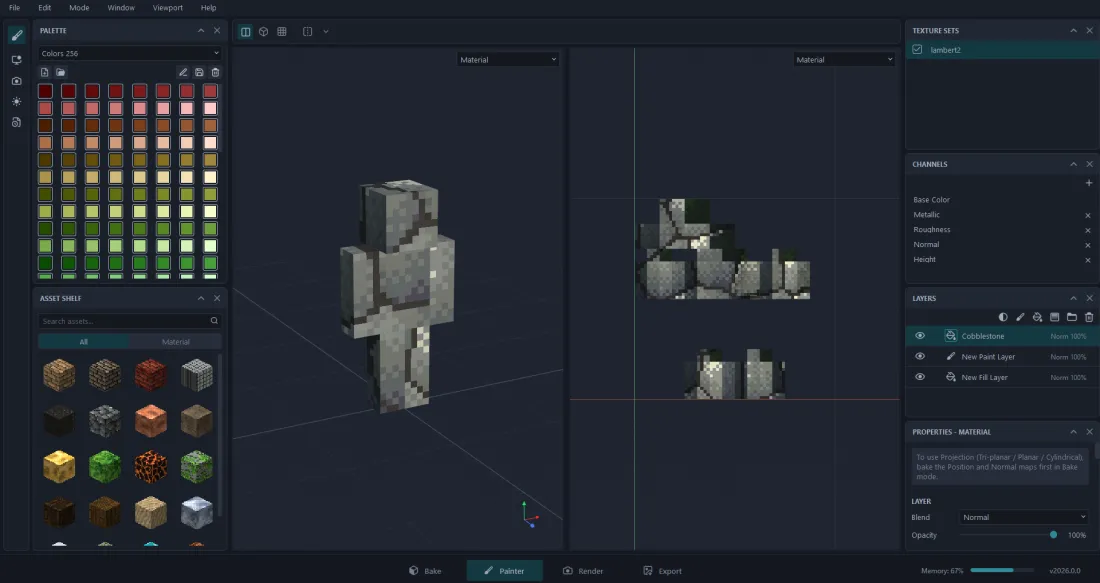
Both views update, and the material lands as a new layer on TOP of the stack:
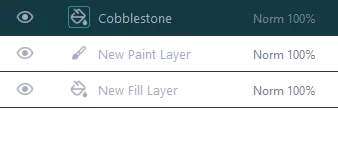
Nothing underneath was destroyed - hide or delete the Cobblestone layer and
the layers below are exactly as they were. A material is a recipe, not a pixel
dump, so its parameters stay editable in the Properties panel.
6. Check it in the viewport
Section titled “6. Check it in the viewport”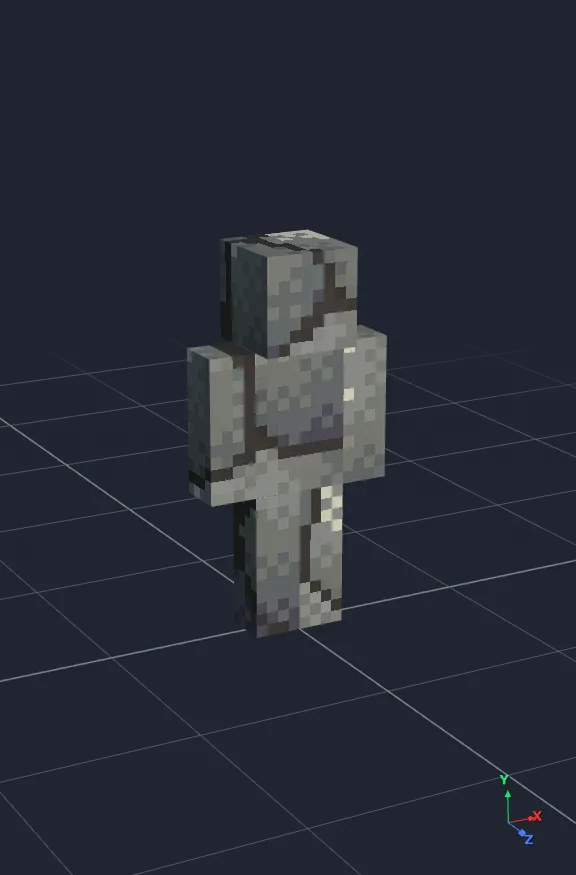
Note the Properties panel hint: to use Tri-planar / Planar / Cylindrical projection, bake the Position and Normal mesh maps in Bake mode first.