
Getting started
This page covers installing the app, what each part of the window is for, and how to move around your model. If you just want to paint something, skip ahead to Your first texture and come back later.
Install
Section titled “Install”Pixel Painter comes from Steam. Buy it, install it, and start it from your Steam Library. Steam needs to be running while you use the app.
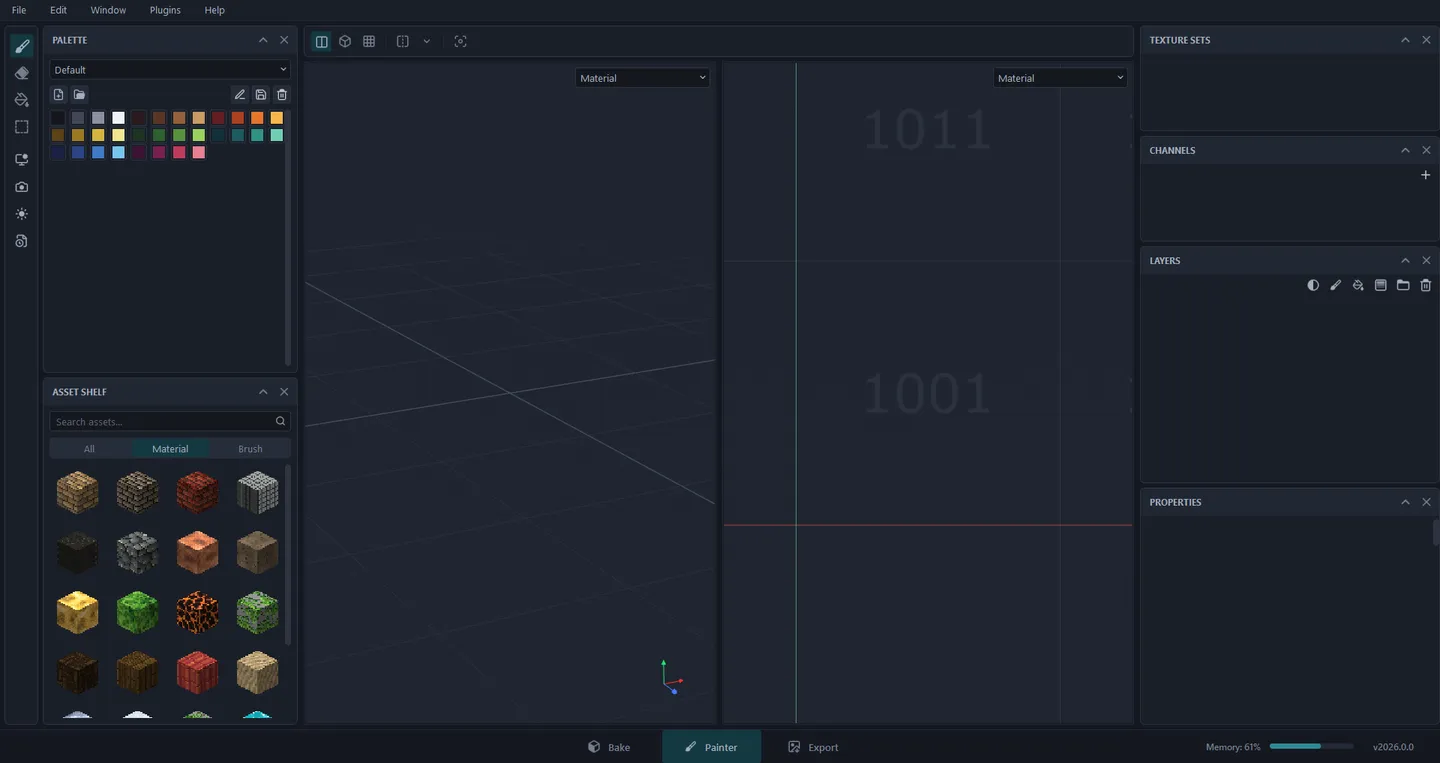
The first time it opens there is no project yet, so the viewports are empty:
Start a project
Section titled “Start a project”Go to File > New Project… (or press Ctrl+N).
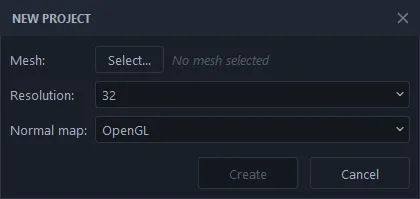
- Mesh - your model, as an
.fbx,.obj,.gltfor.glbfile. It needs a UV layout. - Resolution - how many pixels each texture has, from 16 to 1024. Pixel art usually lives at 32 or 64.
- Normal map - OpenGL or DirectX. Pick whatever your game engine uses. If you are not sure, leave it on OpenGL.
Click Create. You can change the resolution or swap in an updated mesh later from Edit > Project Configuration…, so you are not locked in.
The window
Section titled “The window”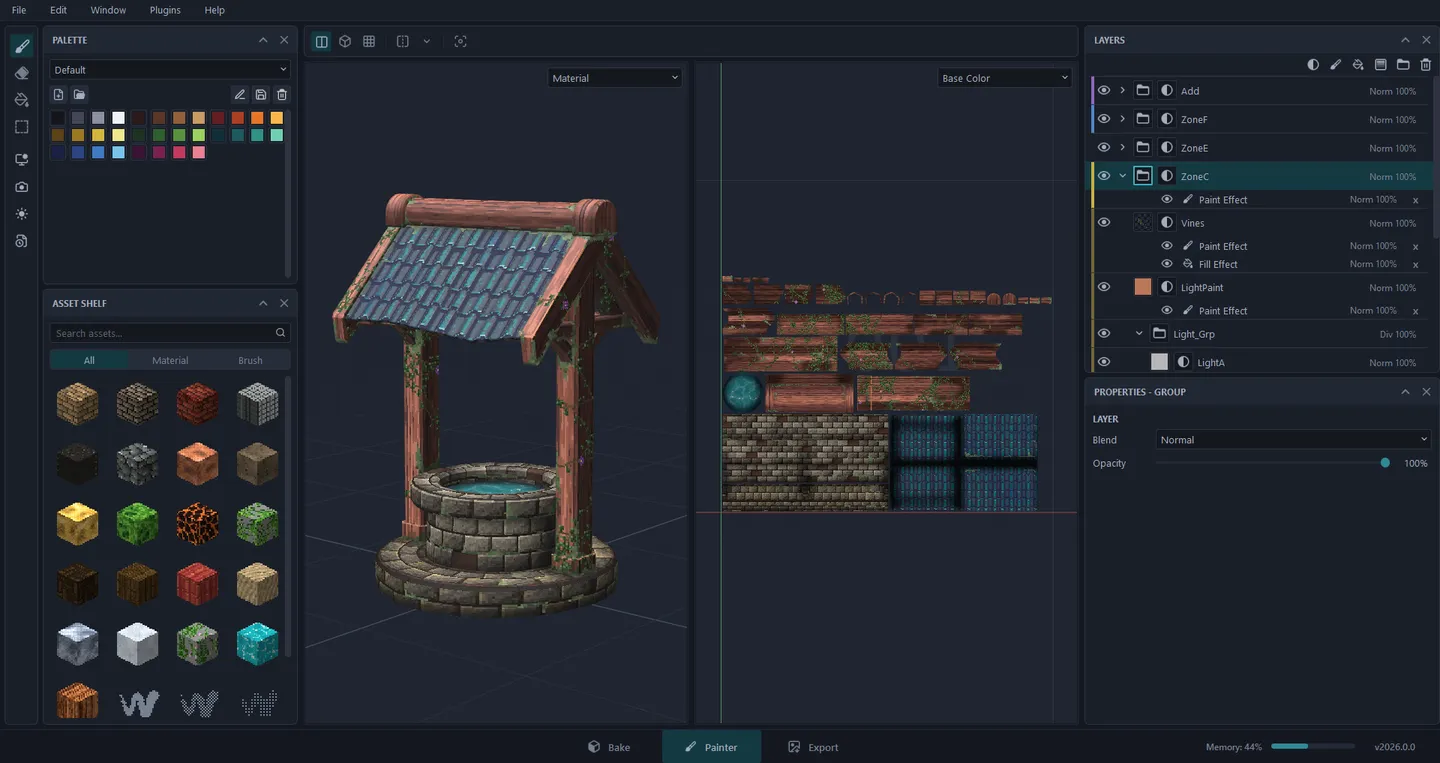
Here is what you are looking at, left to right:
- Tool rail (far left) - Brush, Eraser, Fill and Marquee, then buttons for display, camera and lighting settings, and the log.
- Palette - your colours. Click one to paint with it. The drop-down at the top switches between palettes.
- Asset Shelf - materials and brushes that ship with the app. Drag a material onto the model to use it.
- Viewports (middle) - the 3D model on the left, its UV layout on the right. Paint on either one and the other updates. The buttons above them switch between split, 3D only and 2D only, turn on symmetry, and frame the model. The drop-down in each viewport’s corner shows the full material or one channel at a time (Base Color, Metallic, Roughness, Normal, Height).
- Texture Sets - one entry per material on your mesh. Click one to paint on that part of the model.
- Channels - which texture maps this project has. Use + to add one, or the x next to a channel to remove it.
- Layers - the stack of paint, fill and material layers. See Layers.
- Properties - settings for whatever is selected: the tool, the layer, or the material.
Along the bottom are the four modes: Bake, Painter, Render and Export. You spend most of your time in Painter; Render makes a finished picture of your model (see Rendering a picture).
If you close a panel by accident, open it again from the Window menu. Window > Reset Layout puts everything back where it started.
Moving the camera
Section titled “Moving the camera”| Do this | To |
|---|---|
| Alt + left drag | Orbit around the model |
| Alt + middle drag | Pan |
| Alt + right drag, or the mouse wheel | Zoom |
| Shift + right drag | Turn the light |
The Frame button above the viewports fits the model back into view. If the camera feels too fast or too slow, change the speeds in Edit > Settings… > Navigation.
Saving
Section titled “Saving”File > Save (Ctrl+S) writes a .pxpt project file. It holds your
mesh, layers and settings together.
Autosave is in Edit > Settings… > Autosave. You can choose how often it saves and how many copies it keeps.
Where your files go
Section titled “Where your files go”Double-click a .pxpt project in File Explorer to open it in Pixel
Painter.
Pixel Painter keeps your own stuff in Documents\PixelPainter:
export- where texture exports go unless you pick another folderassets- your own palettes, materials and environmentspluginsandstartup- Python plugins (see Plugins)config- settings, including your shortcuts